Elastic Search With Ingest Pipeline
Ingest pipeline comes in elastic with 7.11 version that provide common transformation on your data before of indexing. For example you may need to do the following activity like:
- Remove of fields
- Extract value from text
- Enrich of your data
- Addition of fields and many more.
Pipeline consist series of configurable task called “processors”. Each processor run sequentially that make changes to incoming document.

Pipeline setup can be done via Kibana UI OR with the help of API. I am using Elastic and Kibana version of 8.8.0 to setup the pipeline. Let’s setup the Docker container for ElasticSearch and Kibana both with the below commands.
# To setup the network
$ docker network create elastic-network

# To setup the elastic v-8.8.0 with above network
$ docker run --name elastic4pipelines -p 9200:9200 -p 9300:9300 --network elastic-network -t docker.elastic.co/elasticsearch/elasticsearch:8.8.0

# To setup the kibana v-8.8.0 with the above network
$ docker run --name kib-01 --net elastic-network -p 5601:5601 docker.elastic.co/kibana/kibana:8.8.0
Now we should be able to see the elastic and kibana container up and running. Now we need to configure the kibana interface with the help of enrollment token. That you can found from the elastic docker logs, it is something like as
✅ Elasticsearch security features have been automatically configured!
✅ Authentication is enabled and cluster connections are encrypted.

ℹ️  Password for the elastic user (reset with `bin/elasticsearch-reset-password -u elastic`):
  feg24lN+FV5LUM+aJHel

ℹ️  HTTP CA certificate SHA-256 fingerprint:
  da98e90349845121f1732ef0550f2d29aa9aabbd0aa24e111d58132c2ae2f1e5

ℹ️  Configure Kibana to use this cluster:
• Run Kibana and click the configuration link in the terminal when Kibana starts.
• Copy the following enrollment token and paste it into Kibana in your browser (valid for the next 30 minutes):
  eyJ2ZXIiOiI4LjcuMCIsImFkciI6WyIxNzIuMjIuMC4zOjkyMDAiXSwiZmdyIjoiZGE5OGU5MDM0OTg0NTEyMWYxNzMyZWYwNTUwZjJkMjlhYTlhYWJiZDBhYTI0ZTExMWQ1ODEzMmMyYWUyZjFlNSIsImtleSI6IjdOSEJWb2dCc3JfMjVyQnFSNkVhOjFia2I2dUxCVENHaW5FX1BmZUx0dlEifQ==

ℹ️ Configure other nodes to join this cluster:
• Copy the following enrollment token and start new Elasticsearch nodes with `bin/elasticsearch --enrollment-token <token>` (valid for the next 30 minutes):
  eyJ2ZXIiOiI4LjcuMCIsImFkciI6WyIxNzIuMjIuMC4zOjkyMDAiXSwiZmdyIjoiZGE5OGU5MDM0OTg0NTEyMWYxNzMyZWYwNTUwZjJkMjlhYTlhYWJiZDBhYTI0ZTExMWQ1ODEzMmMyYWUyZjFlNSIsImtleSI6IjZ0SEJWb2dCc3JfMjVyQnFSNkVhOi1ocFpjUUJ1UWxtcjFwN3JSemk1eHcifQ==

  If you're running in Docker, copy the enrollment token and run:

`docker run -e "ENROLLMENT_TOKEN=<token>" docker.elastic.co/elasticsearch/elasticsearch:8.8.0`NOTE: Don’t copy my enrollment token at your end, it would not work at your side 🙂
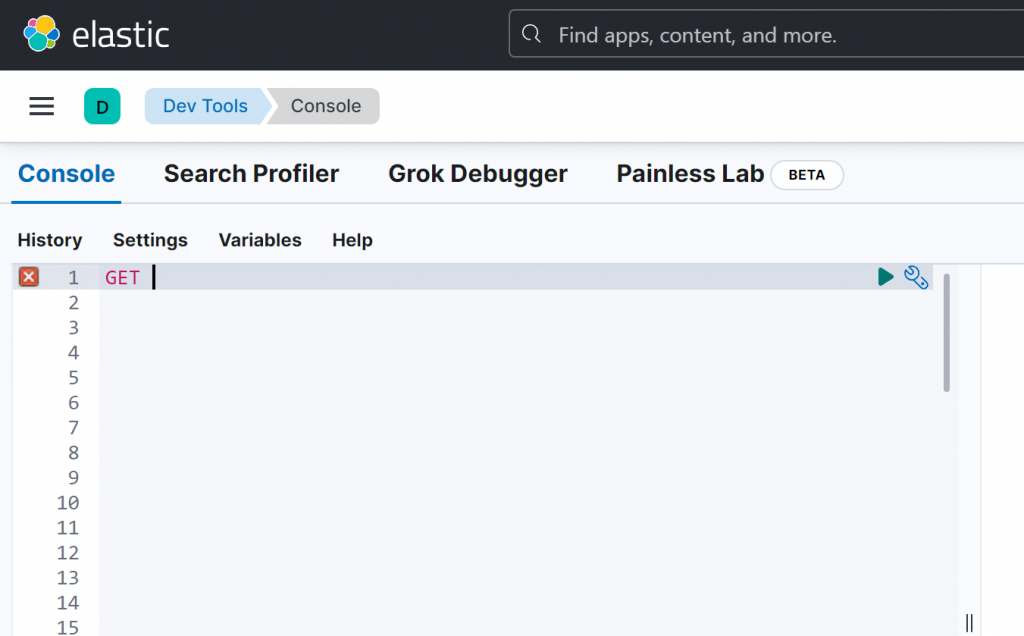
I would like to make it with the help of API. So you just need to go “Dev Tools” menu and there you will see the console to execute the api there. like as below:
Now Let’s create the pipeline inside the console,
# Create pipeline
PUT _ingest/pipeline/files_pipeline
{
  "description": "Pipeline to load PDF documents",
  "processors": [
    {
      "set": {
        "field": "category",
        "value": "Sample"
      },
      "attachment": {
        "field": "secret_file_data",
        "target_field": "attach_file_information",
        "resource_name": "file_resource_name",
        "indexed_chars": -1
      },
      "remove": {
        "field": "secret_file_data"
      }
    }
  ]
}

Response:
Response
{
  "acknowledged": true
}
Here, we can see we use the multiple processor like ‘set’, ‘attachment’, ‘remove’.
Set Processor: Set one field and associate it with the specified value. if the field already exists, it’s value will be replaced with the provided one.
Attachment Processor: The attachment processor lets Elasticsearch extract file attachments in common formats (such as PPT, XLS, and PDF) by using the Apache text extraction library Tika.
The source field must be a base64 encoded binary. If you do not want to incur the overhead of converting back and forth between base64, you can use the CBOR format instead of JSON and specify the field as a bytes array instead of a string representation. The processor will skip the base64 decoding then.
Remove Processor: Removes existing fields. If one field doesn’t exist, an exception will be thrown.
We can view many other processor through this link: https://www.elastic.co/guide/en/elasticsearch/reference/master/processors.html
Now let’s move further for the next step, Let’s simulate the pipeline that we created in the last step, here need to pass the base64 encoded value in the “secret_file_data” field. to get the base64 value we can use this url: https://base64.guru/converter/encode/pdf
# Simulate the pipeline
POST _ingest/pipeline/files_pipeline/_simulate
{
  "docs": [
    {
      "_source": {
        "op_name": "abc.txt",
        "location": "DL",
        "secret_file_data": "QWJsZSB0byBzZWFyY2ggcmVndWxhdGlvbiAxCgoKUmVndWxhdGlvbiAxOiAKICBTYW1wbGUgZGF0YSBhZGRlZGQgZm9yIHRlc3RpbmcK"
      }
    }
  ]
}

Response:
{
  "docs": [
    {
      "doc": {
        "_index": "_index",
        "_id": "_id",
        "_version": "-3",
        "_source": {
          "filename": "abc.txt",
          "attach_file_information": {
            "content_type": "text/plain; charset=ISO-8859-1",
            "language": "en",
            "content": """Able to search regulation 1


Regulation 1:
  Sample data addedd for testing""",
            "content_length": 79
          },
          "category": "Sample",
          "location": "DL"
        },
        "_ingest": {
          "timestamp": "2023-05-31T08:03:40.8569825Z"
        }
      }
    }
  ]
}
If you are getting the above response, it means your pipeline is in working state. Now we are ready to populate the elastic index with pipeline. Let’s go for the next step now:
POST my-index/_doc?pipeline=files_pipeline
{
  "filename": "abc.txt",
  "location": "UP",
  "secret_file_data": "QWJsZSB0byBzZWFyY2ggcmVndWxhdGlvbiAxCgoKUmVndWxhdGlvbiAxOiAKICBTYW1wbGUgZGF0YSBhZGRlZGQgZm9yIHRlc3RpbmcK"
}

Response:
{
  "_index": "my-index",
  "_id": "razYcIgBhiNtncJ8s2TZ",
  "_version": 1,
  "result": "created",
  "_shards": {
    "total": 2,
    "successful": 1,
    "failed": 0
  },
  "_seq_no": 15,
  "_primary_term": 3
}
now we populate the data in my-index. Just a note: I am using the text file instead of PDF file, it does not means that there would be different mechanism to upload the PDF. you just need to do base64 encode the file.
Now let’s do the search of content from there.
GET my-index/_search
{
  "query": {
    "match_phrase": {
      "attach_file_information.content": "Regulation 1"
    }
  }
}
It will return the desired result based on the match_phrase. We can apply many more search criteria as per the elastic : https://www.elastic.co/guide/en/elasticsearch/reference/current/full-text-queries.html
That’s cool. It is a fantastic solution to extract the text information from the file and populate the content inside elastic. Through which we can do search and get the results.
Thank you. keep learning and sharing 🙂